# Angel3 Production Runner
[](https://pub.dev/packages/angel3_production)
[](https://dart.dev/null-safety)
[](https://gitter.im/angel_dart/discussion)
[](https://github.com/dukefirehawk/angel/tree/angel3/packages/production/LICENSE)
Helpers for concurrency, message-passing, rotating loggers, and other production functionality in Angel3 framework.
This will become the de-facto way to run Angel3 applications in deployed environments, as it takes care of inter-isolate communication, respawning dead processes, and other housekeeping for you automatically.
Most users will want to use the `Runner` class.
## `Runner`
`Runner` is a utility, powered by `package:args`, that is intended to be the entry point of your application.
Instantiate it as follows, and your file will become a command-line executable that spawns multiple instances of your application:
```dart
import 'dart:async';
import 'dart:isolate';
import 'package:angel3_framework/angel3_framework.dart';
import 'package:angel3_production/angel3_production.dart';
void main(List<String> args) => Runner('example', configureServer).run(args);
Future configureServer(Angel app) async {
app.get('/', (req, res) => 'Hello, production world!');
app.get('/crash', (req, res) {
// We'll crash this instance deliberately, but the Runner will auto-respawn for us.
Timer(const Duration(seconds: 3), Isolate.current.kill);
return 'Crashing in 3s...';
});
}
```
`Runner` will automatically re-spawn crashed instances, unless `--no-respawn` is passed. This can prevent your server from entirely going down at the first error, and adds a layer of fault tolerance to your infrastructure.
When combined with `systemd`, deploying Angel3 applications on Linux can be very simple.
## Message Passing
The `Runner` class uses [`belatuk_pub_sub`](<https://pub.dev/packages/belatuk_pub_sub>) to coordinate
message passing between isolates.
When one isolate sends a message, all other isolates will receive the same message, except for the isolate that sent it.
It is injected into your application's `Container` as `pub_sub.Client`, so you can use it as follows:
```dart
// Use the injected `pub_sub.Client` to send messages.
var client = app.container.make<pub_sub.Client>();
// We can listen for an event to perform some behavior.
//
// Here, we use message passing to synchronize some common state.
var onGreetingChanged = await client.subscribe('user_upgraded');
onGreetingChanged
.cast<User>()
.listen((user) {
// Do something...
});
```
## Run-time Metadata
At run-time, you may want to know information about the currently-running instance, for example, which number instance. For this, the `InstanceInfo` class is injected into each instance:
```dart
var instanceInfo = app.container.make<InstanceInfo>();
print('This is instance #${instanceInfo.id}');
```
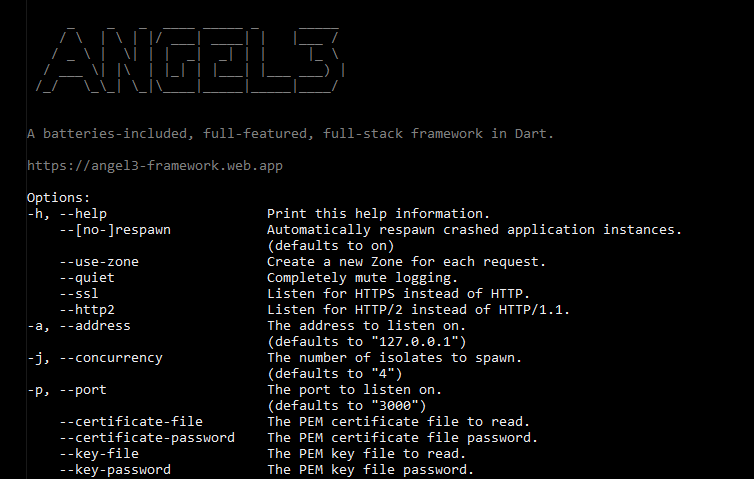
## Command-line Options
The `Runner` class supplies options like the following:
```bash
appuser$ dart example/main.dart --help
_ _ _ ____ _____ _ _____
/ \ | \ | |/ ___| ____| | |___ /
/ _ \ | \| | | _| _| | | |_ \
/ ___ \| |\ | |_| | |___| |___ ___) |
/_/ \_\_| \_|\____|_____|_____|____/
A batteries-included, full-featured, full-stack framework in Dart.
https://angel3-framework.web.app
Options:
-h, --help Print this help information.
--[no-]respawn Automatically respawn crashed application instances.
(defaults to on)
--use-zone Create a new Zone for each request.
--quiet Completely mute logging.
--ssl Listen for HTTPS instead of HTTP.
--http2 Listen for HTTP/2 instead of HTTP/1.1.
-a, --address The address to listen on.
(defaults to "127.0.0.1")
-j, --concurrency The number of isolates to spawn.
(defaults to "4")
-p, --port The port to listen on.
(defaults to "3000")
--certificate-file The PEM certificate file to read.
--certificate-password The PEM certificate file password.
--key-file The PEM key file to read.
--key-password The PEM key file password.
```